Tighten Roof Pivot Bolts

Remove The Pivot Holding Bolt 13mm Hex Loose The Rear Seat Belt Screw Notice Remember To Tighten This Screw After Assemb Suzuki Jimny Rear Speakers Suzuki
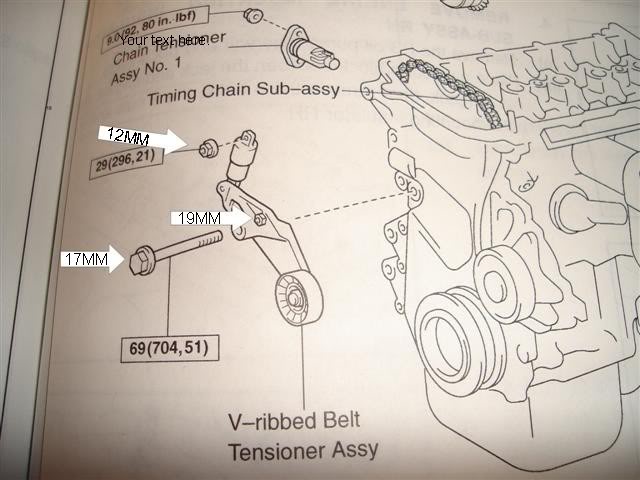
Fixing A Broken Bolt Of The Serpentine Belt Tensioner Toyota Corolla

Sx Page 1 Of 19

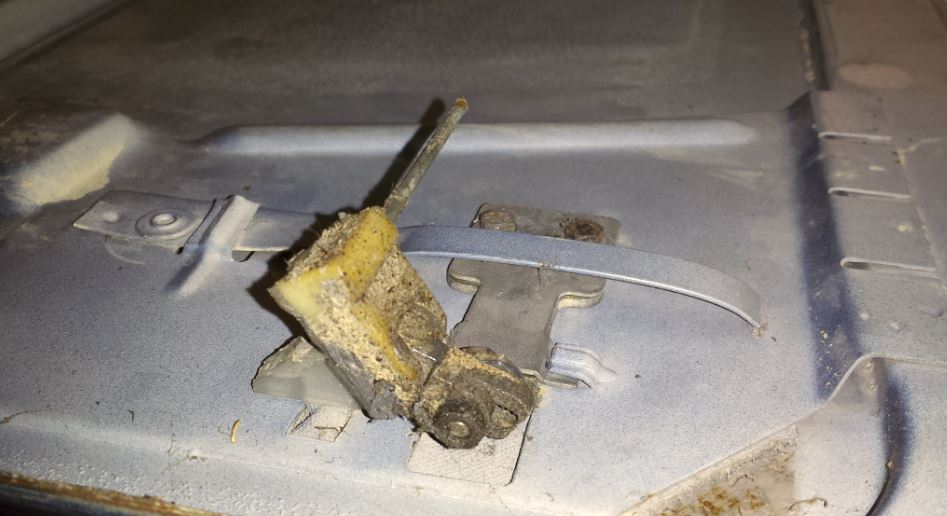
How To Adjust A Door That Rubs Doesn T Shut Or Is Sagging

Mr2 Owners Club How To Tighten Up The Alternator Belt

Adjusting The Jacques Board Shear The Guild Of Book Workers Bookbinding Tools Bookbinding Tutorial Binding Supplies
1 install the first m6 x 15 7 mm wafer head screw with the blue thread lock and tighten it to ensure that the part does not move when the awl is removed.
Tighten roof pivot bolts.
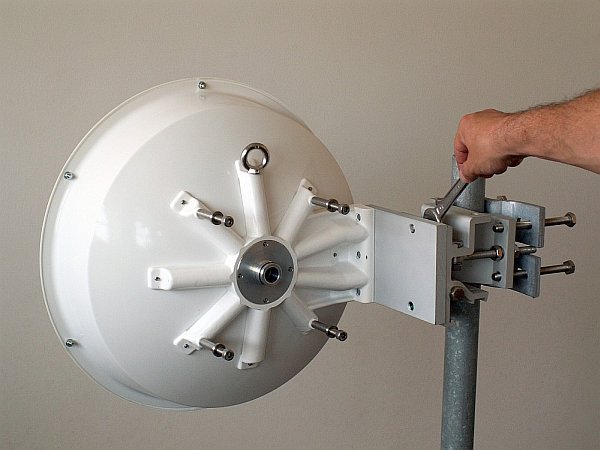
Rtu2000 00 Cpe Roof Unit Transceiver 100 Milliwatt Output Po Parts List Tune Up Info Exhibit 10 Partslist Tuneup Pdf Spectrapoint Wireless

Fords Unlimited Car Club Tech Info Convertible Top Repair Adjustment Manual
Sunroof Howto Wanted Bmw E9 Coupe Discussion Forum

Rockymounts Euro Pitchfork Roof Bike Rack Installation Instructions Manualzz
Source : pinterest.com
